Back to Home

Connect Brazilian banks to Liquify

A one-time Meu Pluggy walkthrough—authorise once, copy your keys, and finish in the app.

Who this is for

Anyone on Liquify Ultra—including the free 30-day trial—who wants to connect Brazilian banks. Liquify never sees your bank login—you authorise the bank in Meu Pluggy and share only encrypted API keys plus an Item ID.

Before you start

  • Liquify Ultra (subscription or free 30-day trial)
  • A Brazilian bank that supports Open Finance
  • About 15 minutes for a one-time setup (repeat the Demo OAuth once per bank)

Two Pluggy sites—don’t mix them up

1. Connect your banks in Meu Pluggy

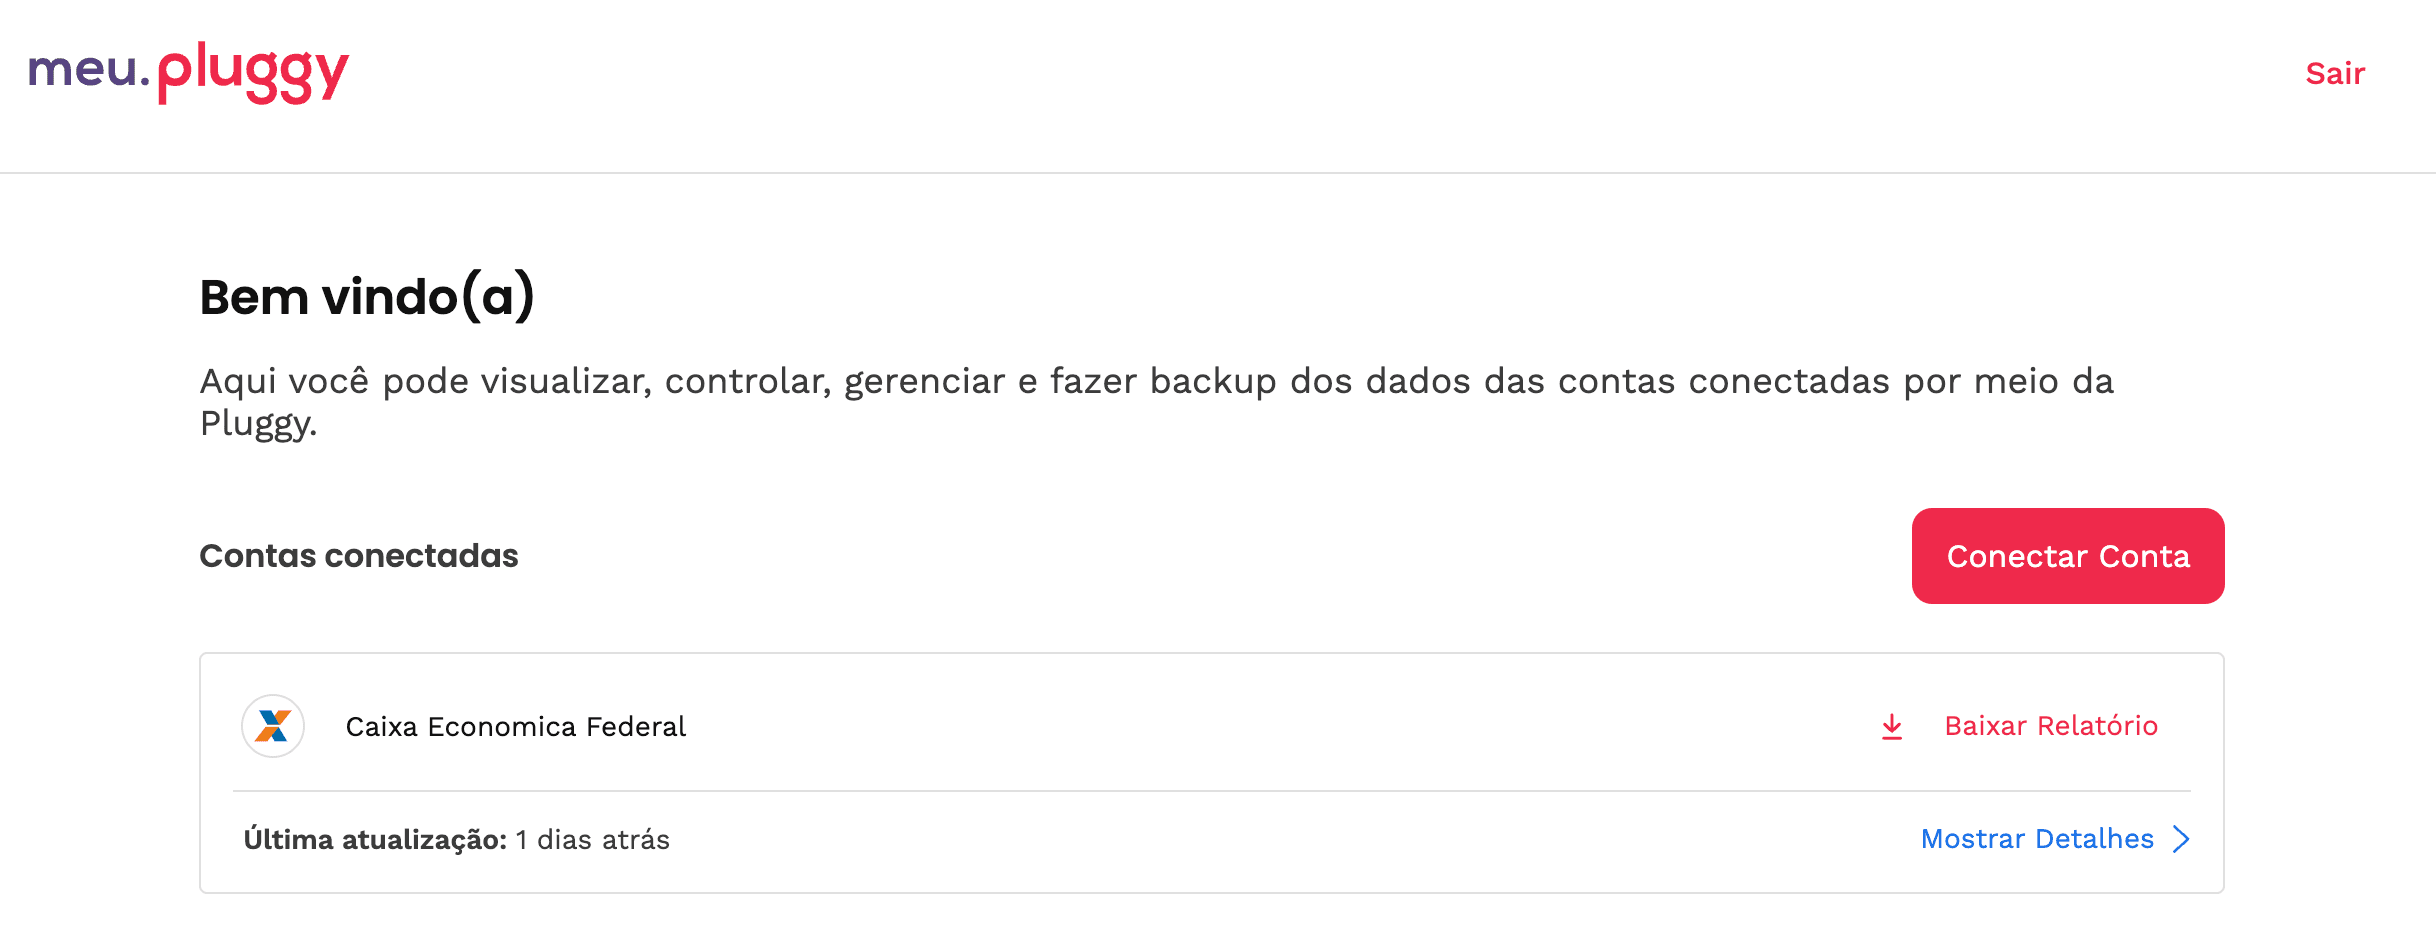
Sign up at meu.pluggy.ai. On the welcome screen, tap the main button to start connecting a bank.
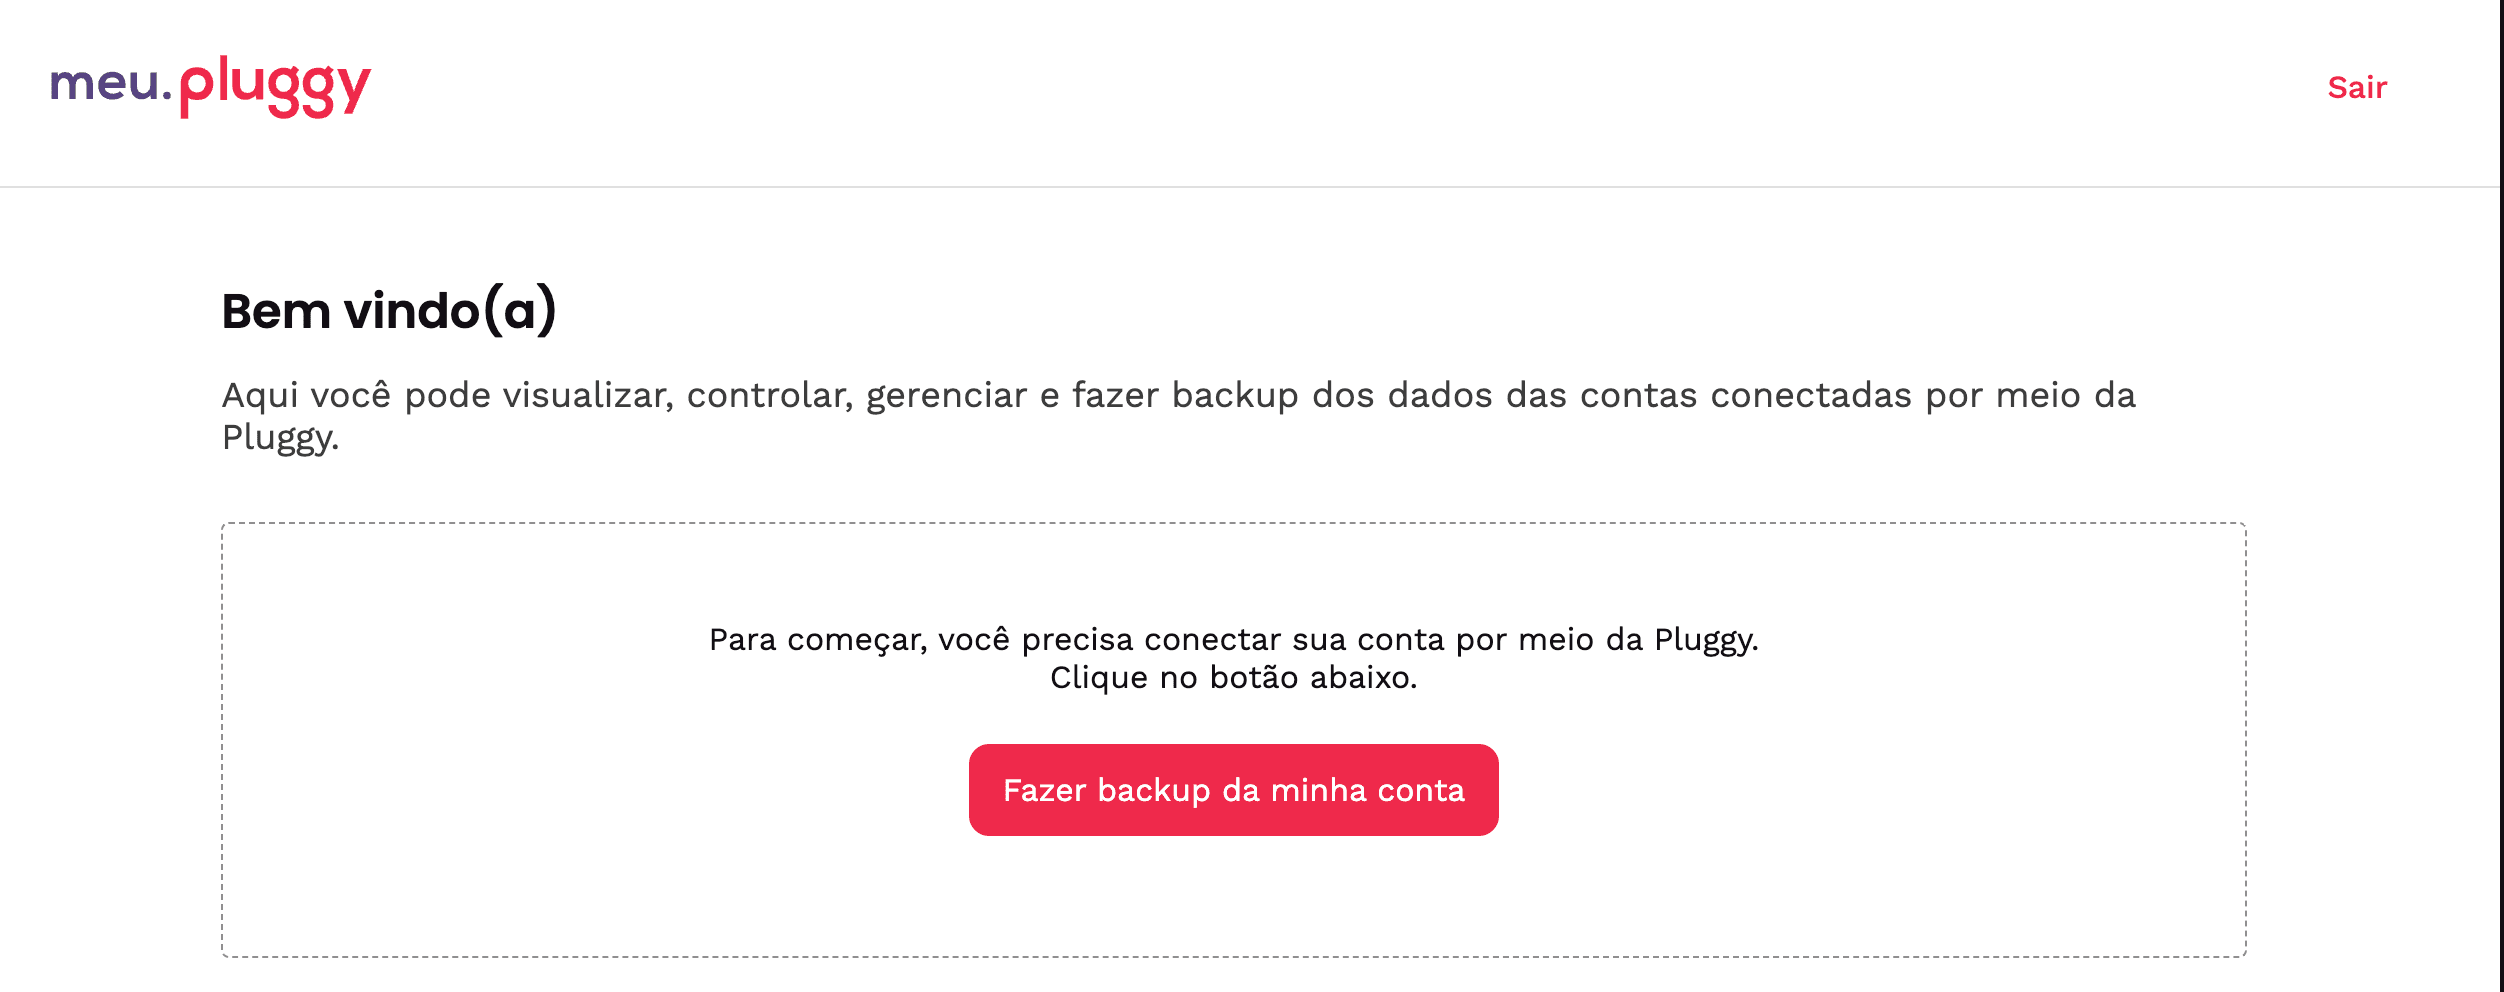
Meu Pluggy welcome screen
Meu Pluggy home — tap the main button to connect a bank.

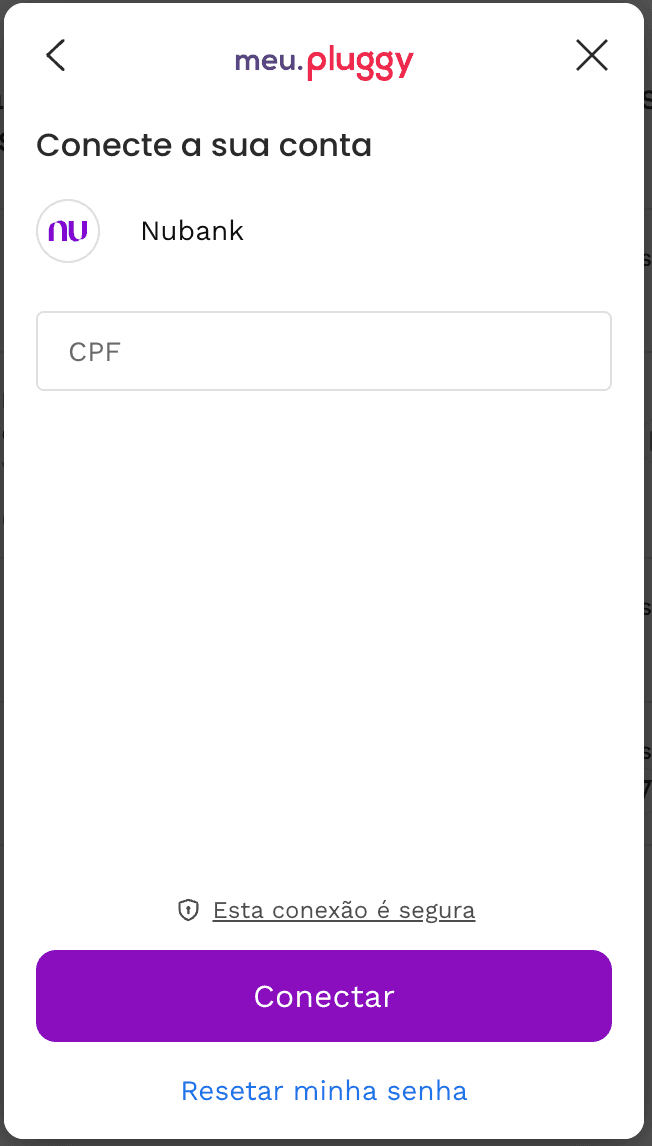
Search for your bank, select it, then complete the bank’s own Open Finance flow (CPF, branch, password, or SMS—depending on the bank).
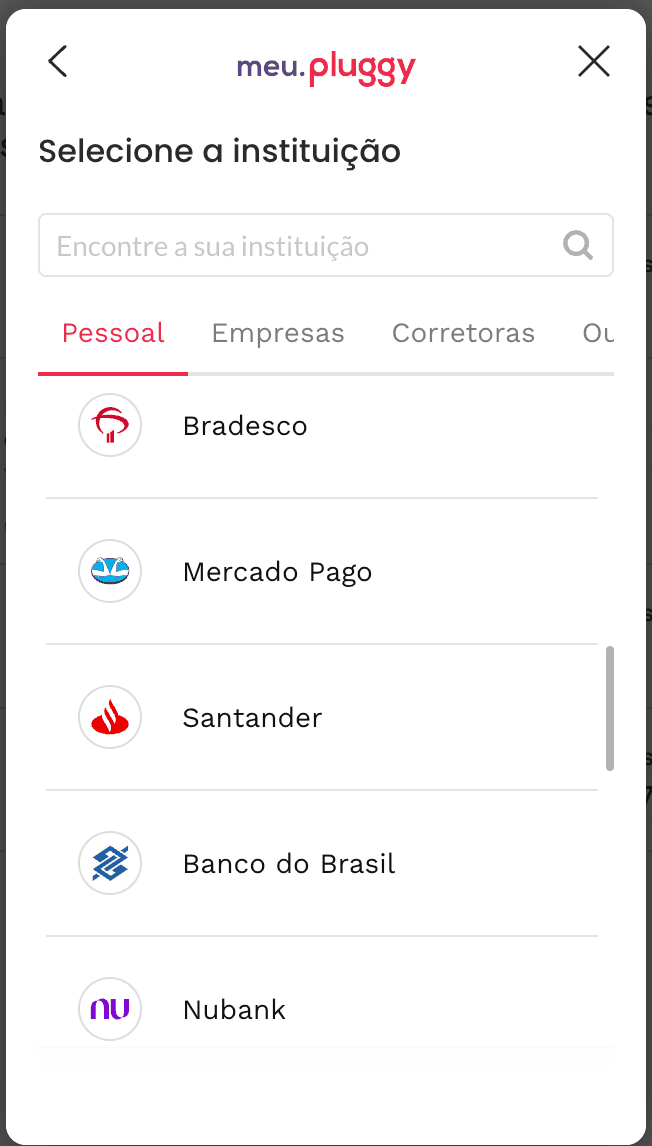
Choosing a bank to connect
Pick your bank from the list.
Confirming bank connection
Enter your CPF and finish the bank login.

When it succeeds, the bank appears under connected accounts. Repeat for each Brazilian bank you want in Liquify (up to 10 per person).

Bank connected in Meu Pluggy
Connected banks show up here.

2. Create a Pluggy Developer account

Sign up at dashboard.pluggy.ai. Pluggy starts a short trial on the dashboard; you can keep using the Meu Pluggy path afterward for personal bank sync in Liquify.

3. Enable the Meu Pluggy connector

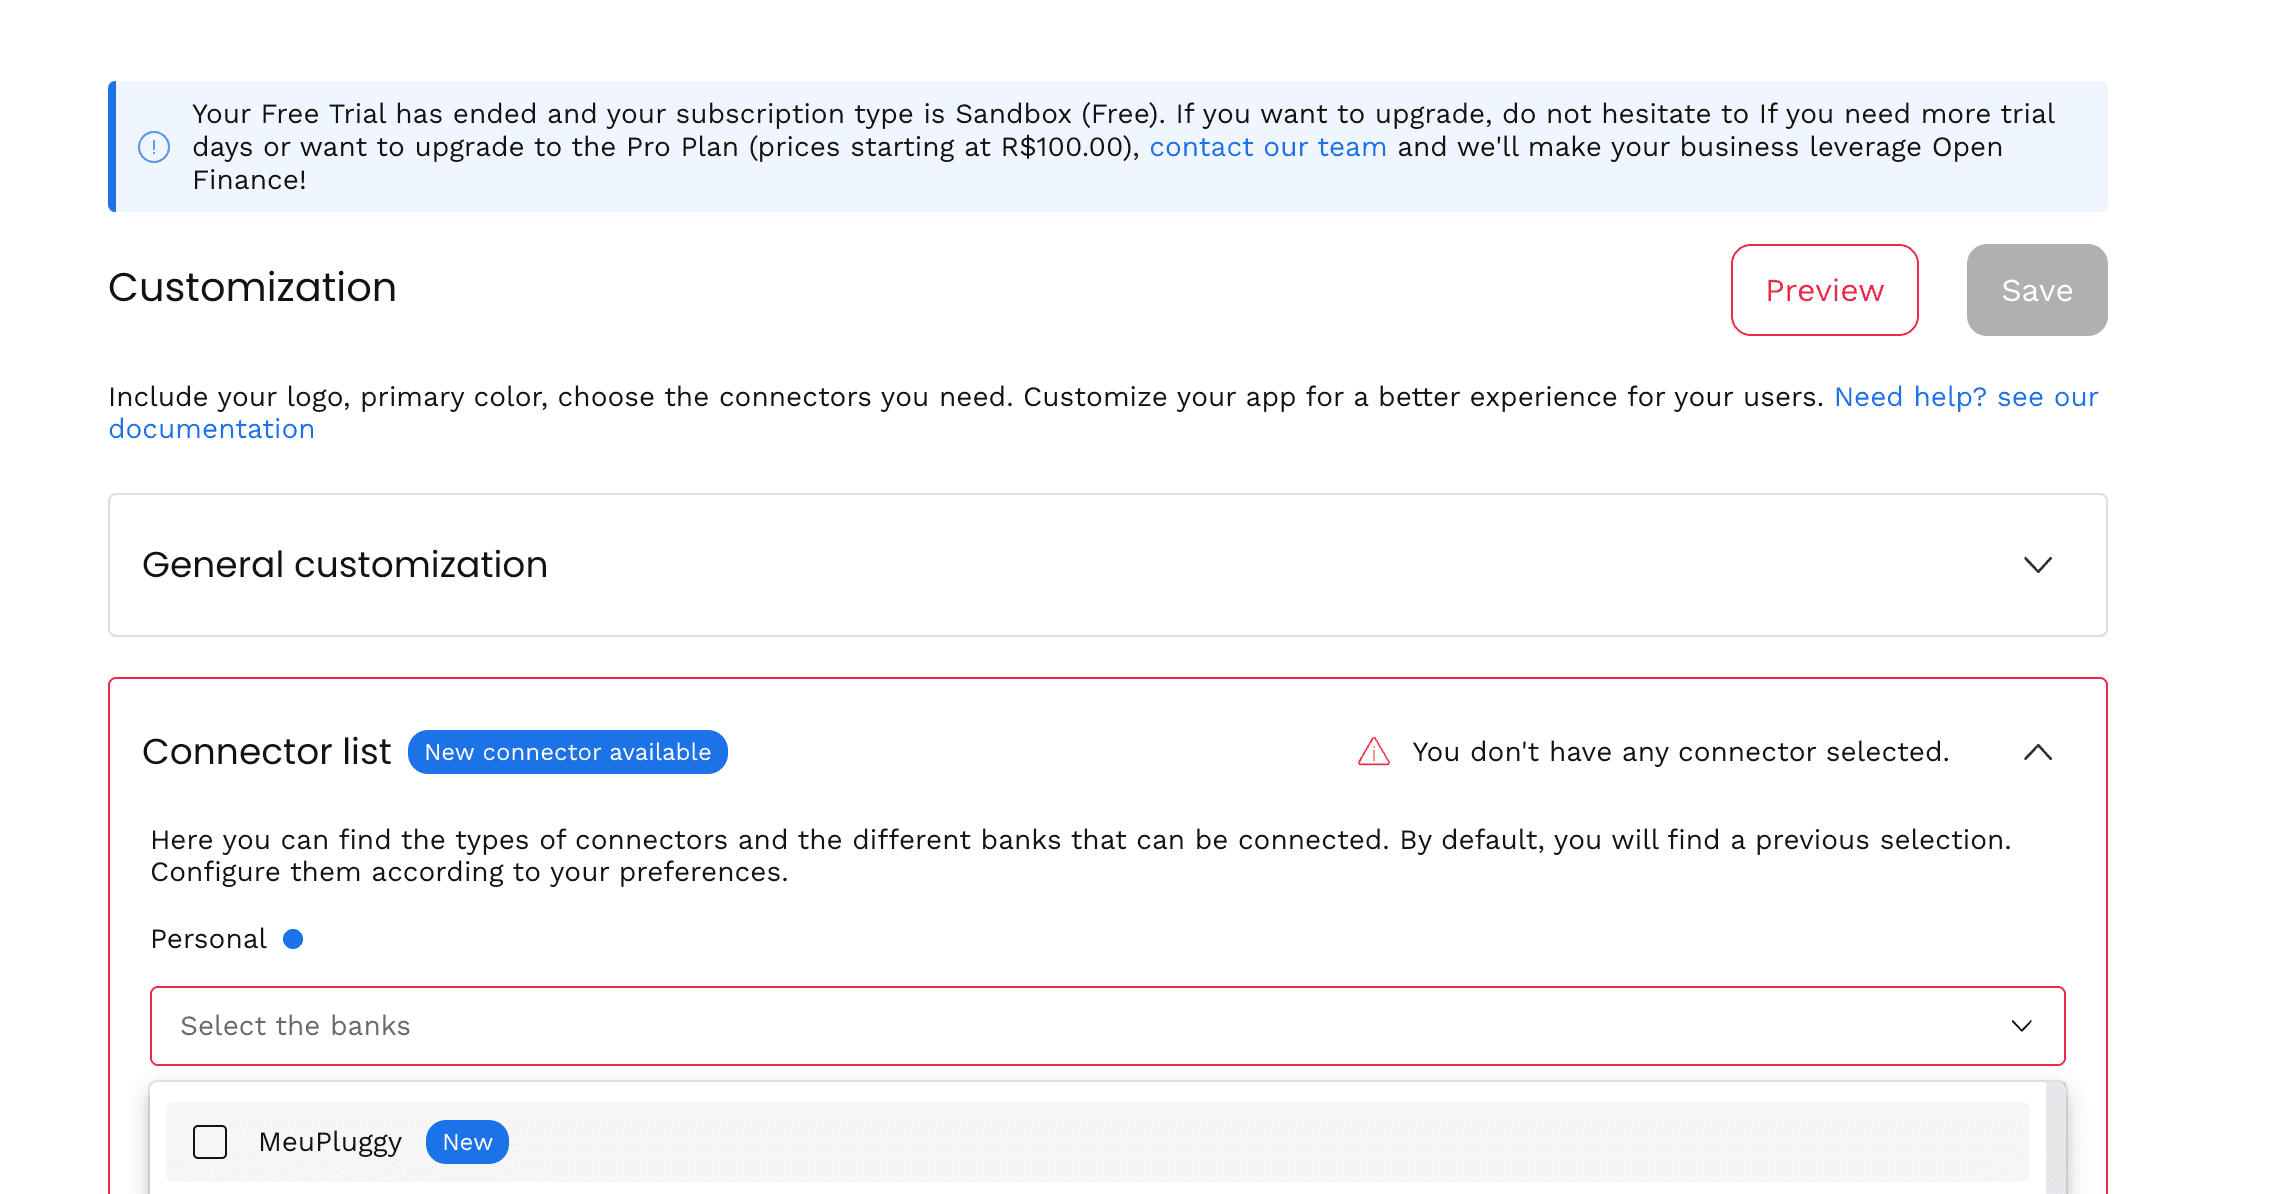
In the Pluggy dashboard open Customisation → Connector list. Meu Pluggy is easy to miss—enable it before you continue.

Pluggy dashboard customization
Customisation → Connector list.

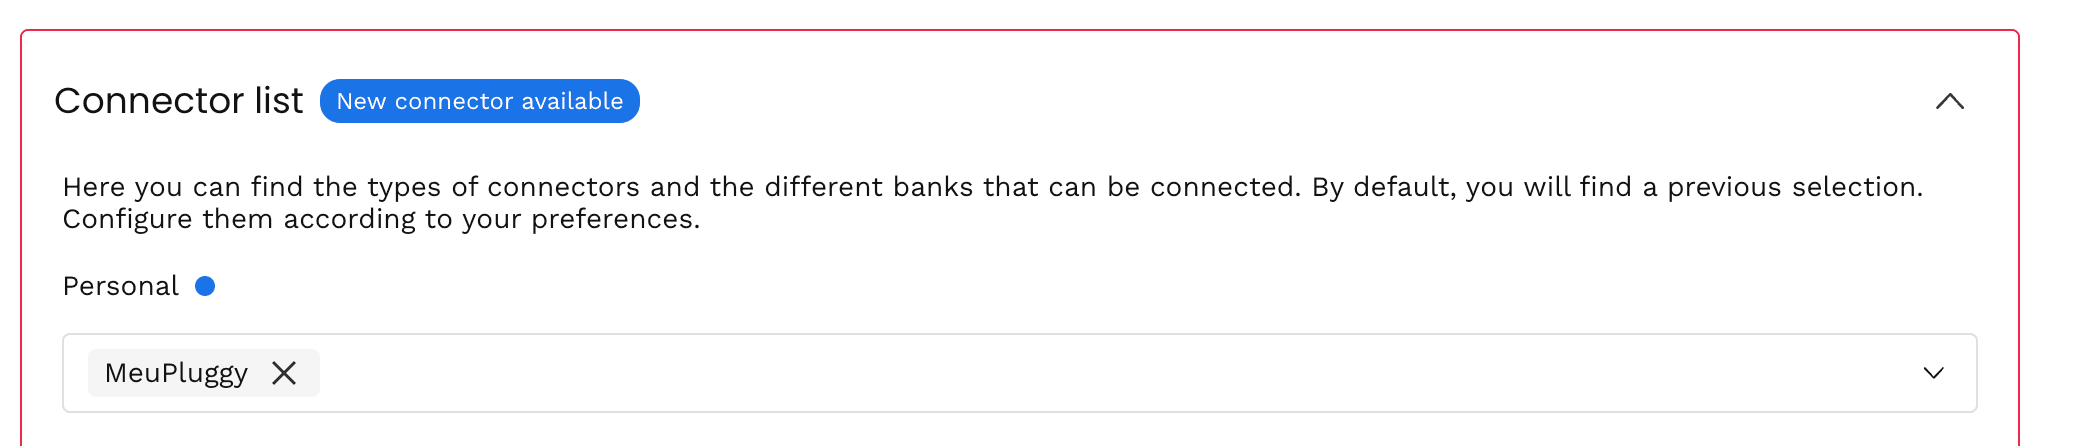
After you enable Meu Pluggy, it should appear in your connector list. Without this step, Demo OAuth later will not show Meu Pluggy.

Meu Pluggy connector enabled
Meu Pluggy enabled in the connector list.

4. Create a Development Application and copy your keys

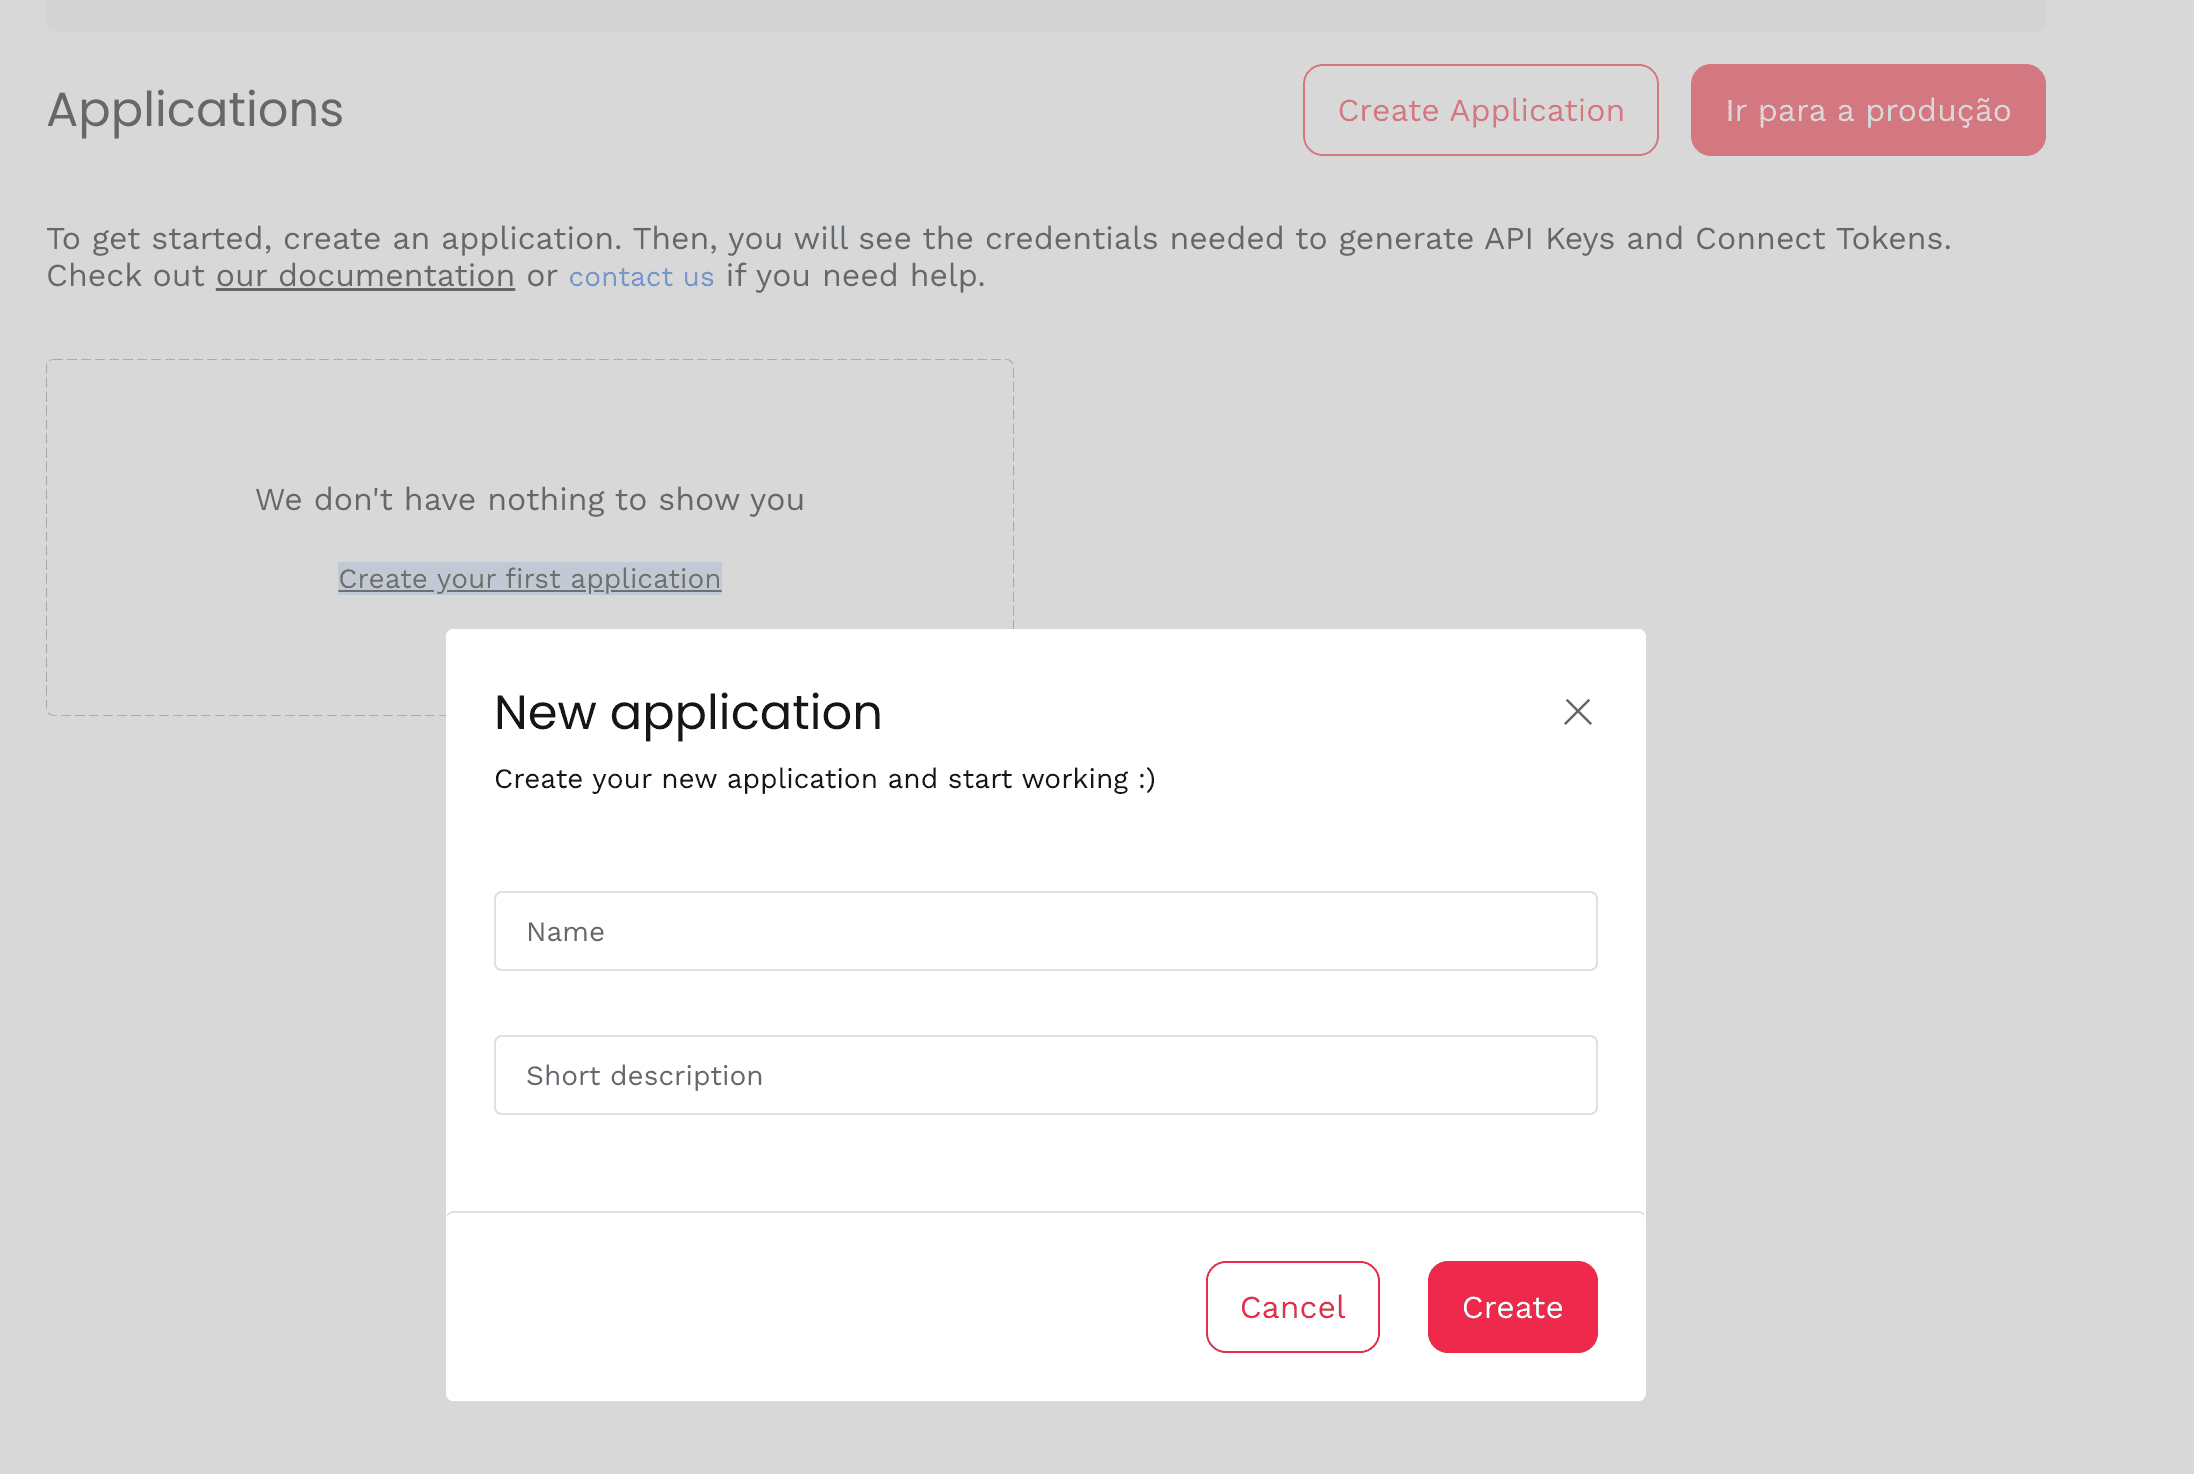
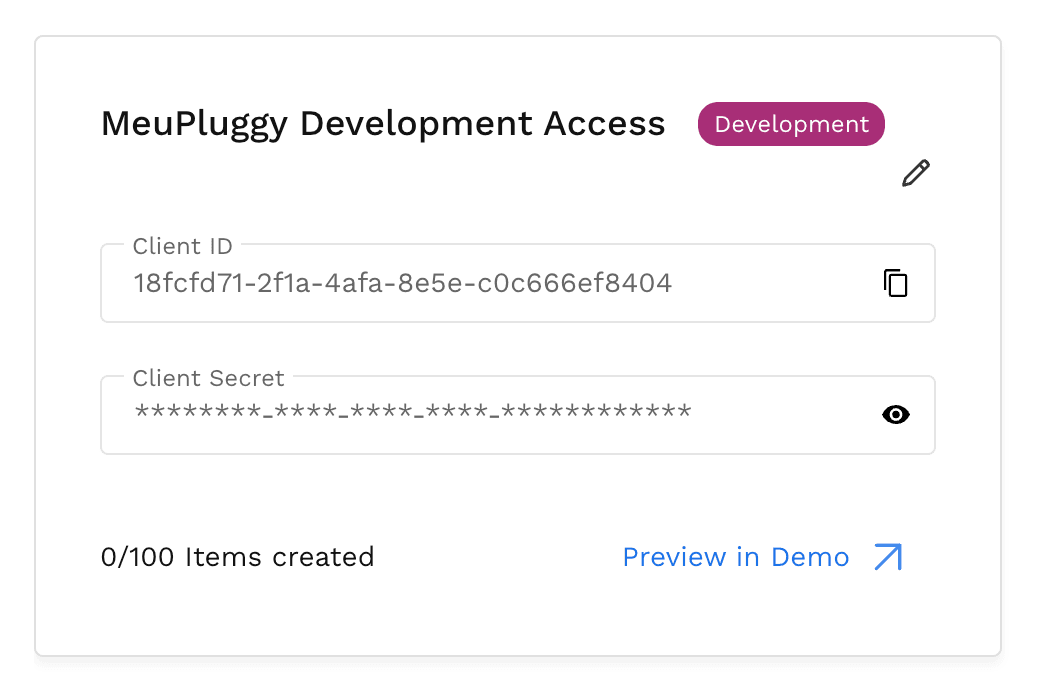
On your Application page, create a Development Application. You’ll get a Client ID and Client Secret to paste into Liquify.

Creating a new Pluggy application
Create a Development Application.

Copy both values. Save the Client Secret immediately—Pluggy may only show it once.

Pluggy application credentials
Copy Client ID and Client Secret.

5. Authorize Meu Pluggy in Pluggy Demo (once per bank)

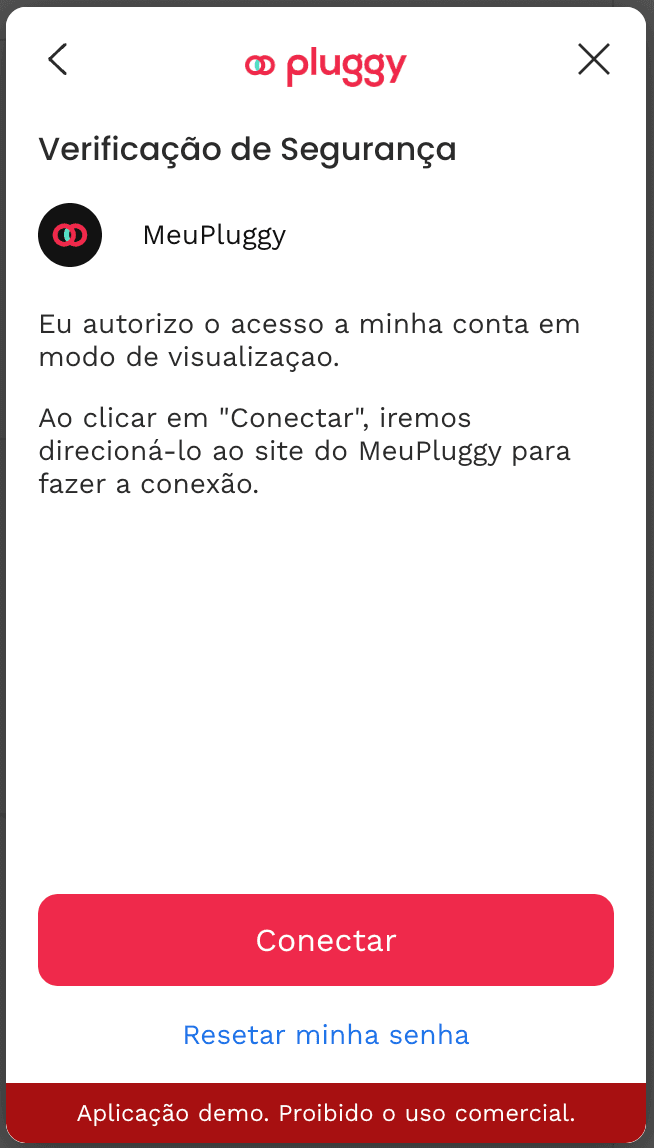
Open Pluggy Demo from the dashboard, start a connection, and choose Meu Pluggy to begin OAuth.

Meu Pluggy OAuth in Pluggy Demo
Start Meu Pluggy OAuth in Pluggy Demo.

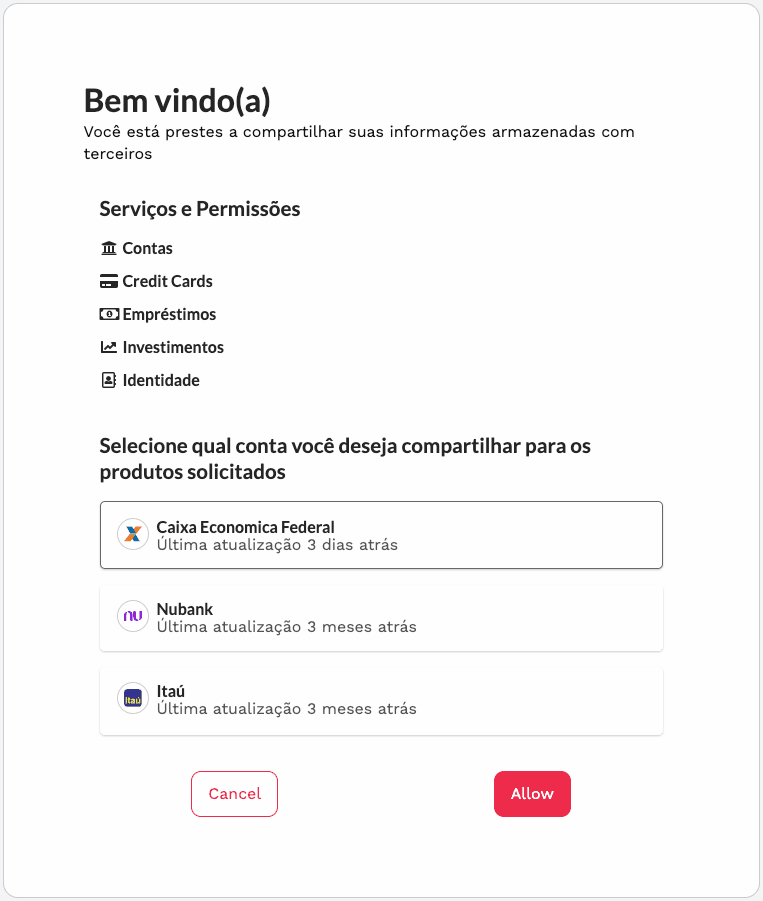
Allow access and pick which Meu Pluggy bank to share. Do this once per bank, not once per account.

Authorize Meu Pluggy access
Choose the bank and allow access.

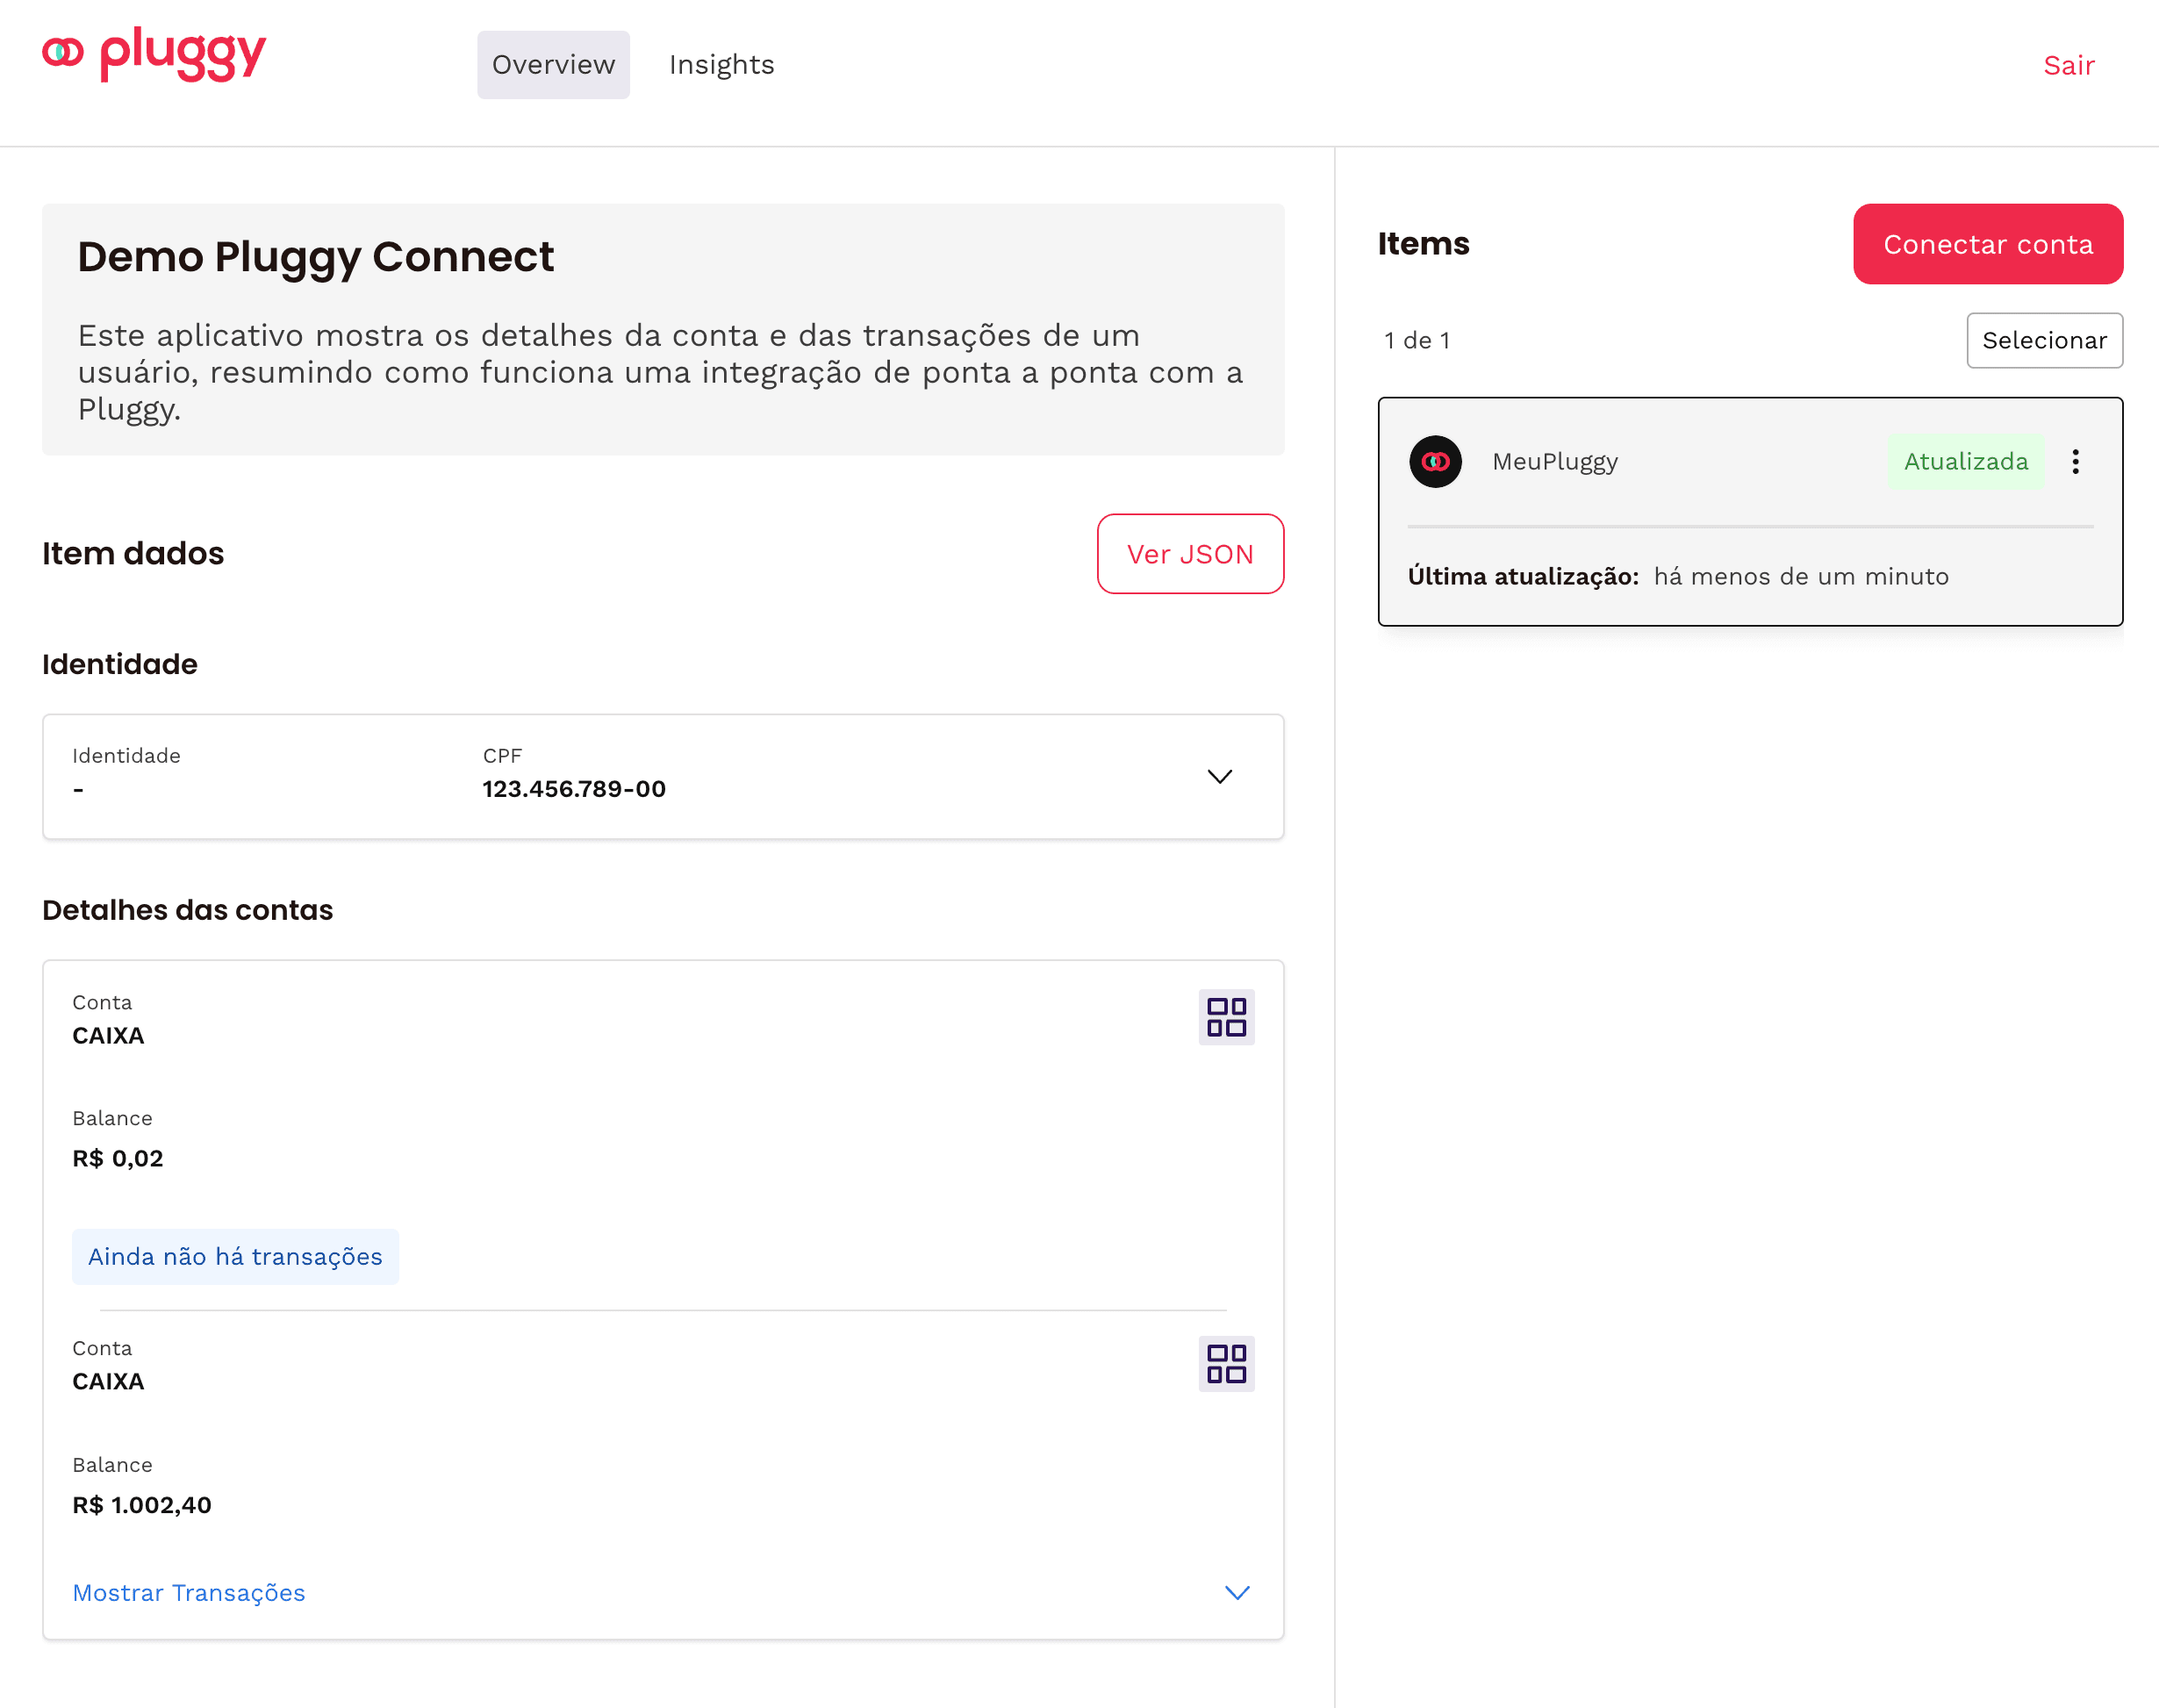
When authorization succeeds, the Demo shows the linked Meu Pluggy item. Each bank becomes its own Item.

Meu Pluggy authorized
Authorized — the bank is ready to import.

6. Copy the Item ID and finish in Liquify

In the Pluggy dashboard Items page (or Demo item menu), copy the Item ID (UUID) for that bank.

In Liquify: Connect bank → Brazil → paste Client ID, Client Secret, and Item ID. Liquify encrypts the keys on our servers and starts sync.

The same Client ID and Secret work for every bank; each bank needs its own Item ID. Liquify refreshes about every 6 hours and when you pull to refresh. Disconnecting in Liquify does not delete your Meu Pluggy or Pluggy connection.

You’re done when…

Liquify shows the bank on Connect bank / Accounts with balances. Link accounts to boxes from Edit Expense Box when you want Plan vs Accounts.

If the connection shows Needs reconnect, tap Reconnect in Liquify and enter your Client ID, Client Secret, and Item ID again—fields may already be filled from last time. That only updates Liquify; it does not open your bank. If the bank consent itself expired (often around every 90 days), renew it in Meu Pluggy / Pluggy Demo first, then use Reconnect in Liquify with the current Item ID.

Screenshots courtesy of Pluggy (Meu Pluggy UI shown in Portuguese).